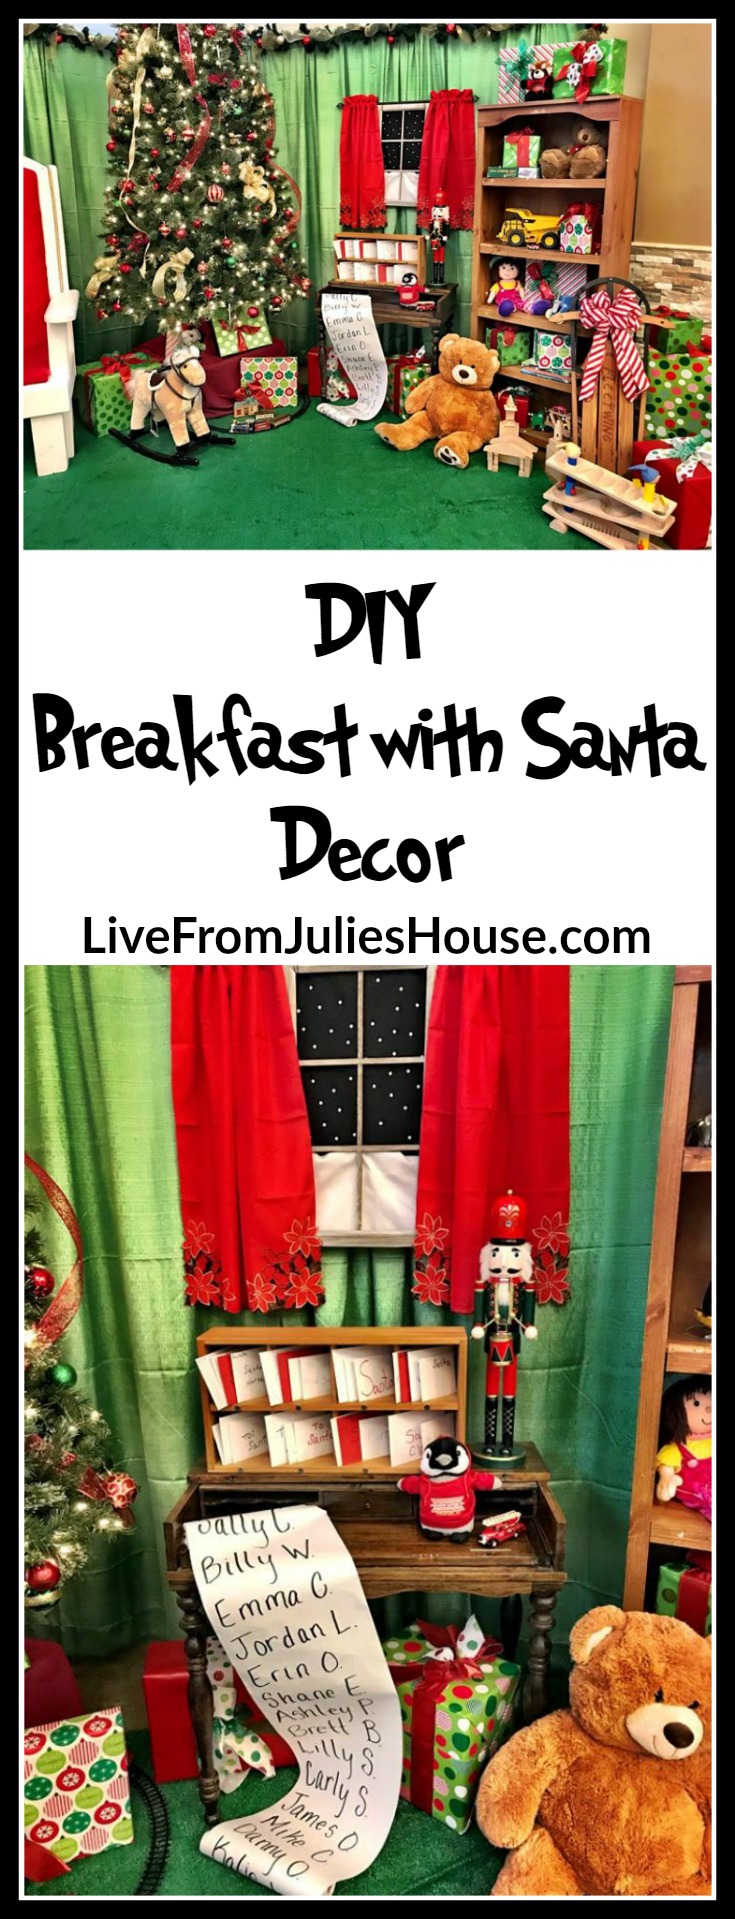
Most of my creative energies have been focused on work-related projects this year and sadly, I’ve been MIA from the blog for long stretches of time. I am making some major changes right now to get things back into balance, which I’m really excited about. In the meantime, I thought I would share a few of my more fun projects here on the blog. And if you happen to be planning a Breakfast with Santa event for your PTO or church group, I’ve gotcha covered! I recently recreated the decor for the annual Breakfast with Santa event at the zoo where I work, and I did it with a lot more creativity than cash.
When I arrived at the zoo in the fall of 2016, they had been doing Breakfast with Santa for years. The main focus of this event was the photo op with Santa and I was shocked to realize that it didn’t actually have much of a photo op. They hired a decorating company to put up a Christmas tree and they had a big Santa chair next to it. And that was it. The backdrop was plain beige walls and honestly, it was pretty underwhelming. Parents are trying to capture the most Instagram-worthy pic of their children with the big guy, so this sad little corner just wasn’t cutting it.
We are a not-for-profit with a tiny budget and the breakfasts are a fundraiser. I suspect my predecessors didn’t think that they could make an impact without a big budget, but I’ve always believed you can make magic with a little ingenuity.
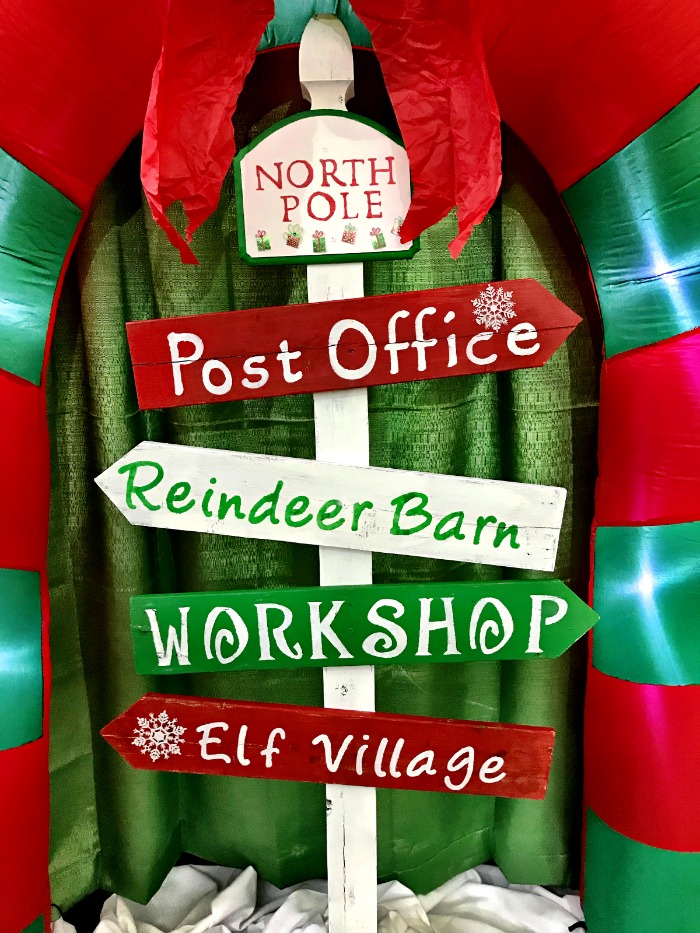
You can find the DIY North Pole Directional Sign I made for the same event HERE.
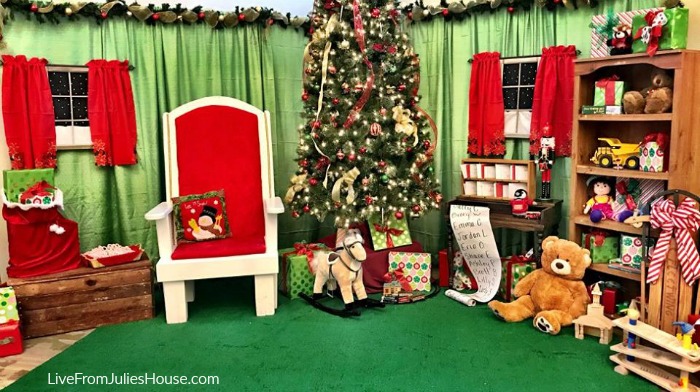
I started out by hanging a couple of sections of pipe and drape with bright green drape and putting down a section of green indoor/outdoor carpeting we had from another event. They weren’t my first choice, but it’s more cost effective to work with what you have, plus the bright colors helped a lot. If you need to disguise a less-than-ideal background, pipe and drape is the perfect solution. If you don’t have access to any, you can build your own frame using PVC and hanging sheets or tablecloths.
My original idea was to create a “Santa’s Workshop” – a workbench, tools, etc. I couldn’t find a used wooden bench that fit into my budget or aesthetic, so I switched gears and started creating “Santa’s living room”.
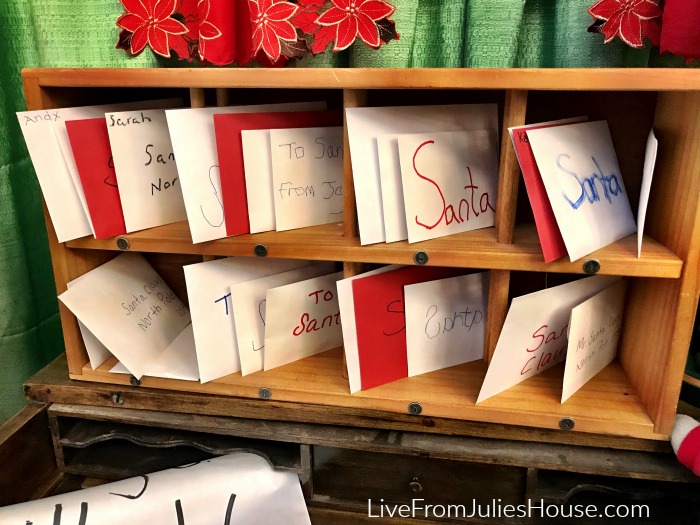
We found a small vintage secretary desk on Craigslist for about $35. I added a little wooden shelving unit I picked up for a few dollars at the thrift store to create a little area for letters to Santa.
(I actually acquired this piece earlier in the year to create an “Owl Post” at our Wizarding Weekend event)
I found little round metal numbers in the scrapbook section of the craft store and glued them onto each cubby to give it a more authentic look. My assistant Mary scrawled the lettering on the envelopes using her left hand to make it look more childlike.
Next, she made Santa’s “Naughty or Nice?” list using a roll of plain white paper.
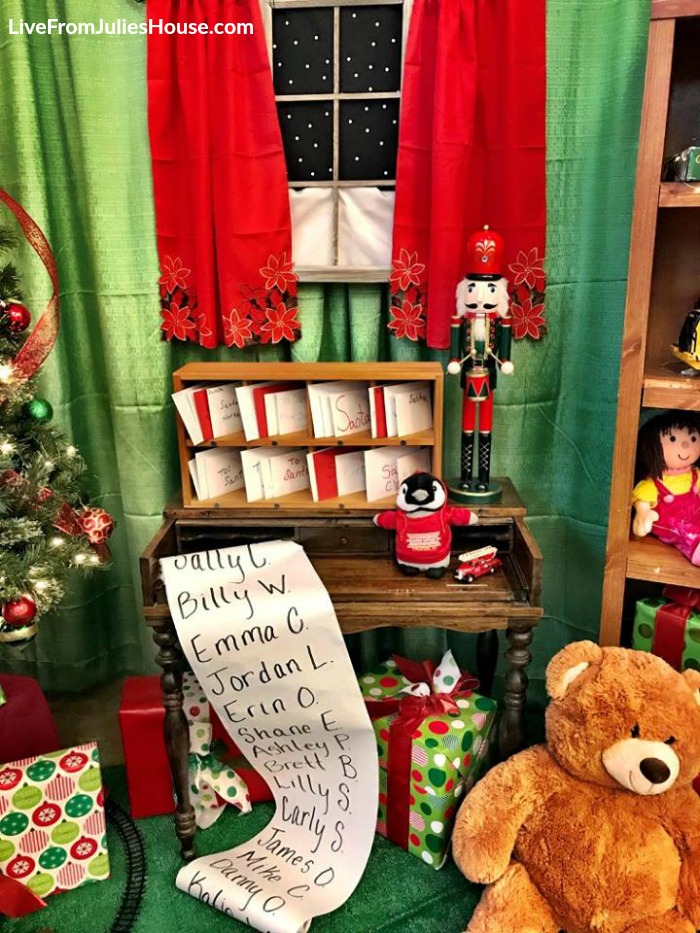
Santa’s list was the easiest piece of the project and it got more comments than anything else we did. Funny how that works. 🙂
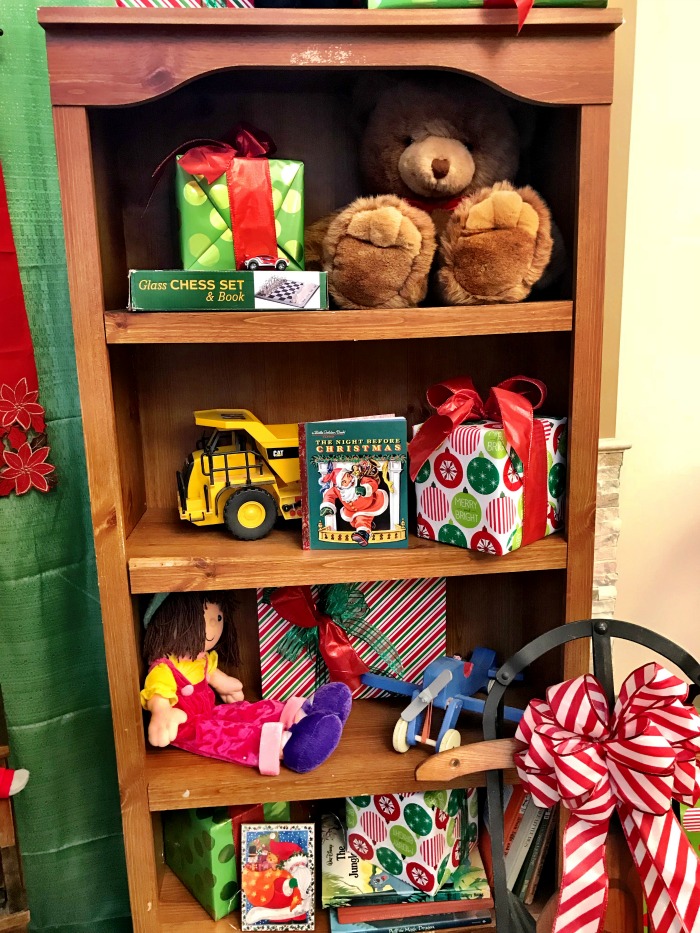
I knew I wanted to fill the area with classic toys – things like dolls, teddy bears, trucks, fire engines, train sets, etc. We had a cheap wood-look bookcase in our back room, so I hauled it out and used it to display the toys. The old sled came out of my basement and I put the word out to my co-workers that I was looking for toys for the display. The only pieces I bought new were the rocking horse and the big teddy bear that I found at the warehouse store.
Once I had everything I place, I decided I needed a couple of “windows” in the display. I have a stash of old (real) windows in my garage, but I knew the frame wouldn’t support their weight. Luckily, I stumbled on some empty “faux window frames” at Michael’s. They were very lightweight and I knew they would be perfect for what I had in mind.
I bought some inexpensive holiday cafe curtains and curtain rods and used wire to attach the window to the rod, then the rod to the frame. I positioned the curtains on the outside of the windows to make them look bigger. Then we added black and white fabric to make it look like snow. Can you guess what the white “snow” dots are?
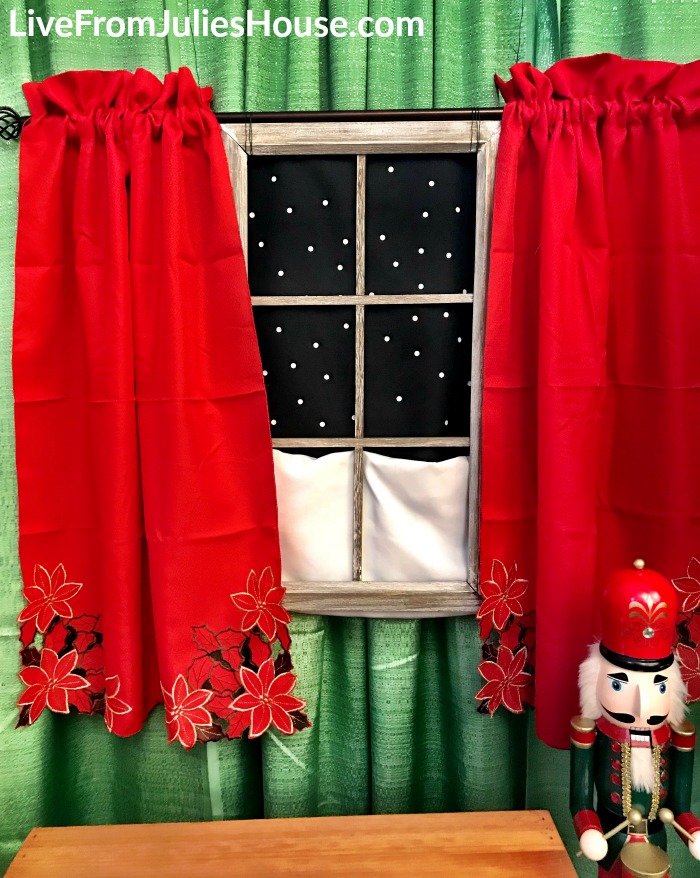
They came out of our hole punch, LOL. Black and white paper would work just as well for this.
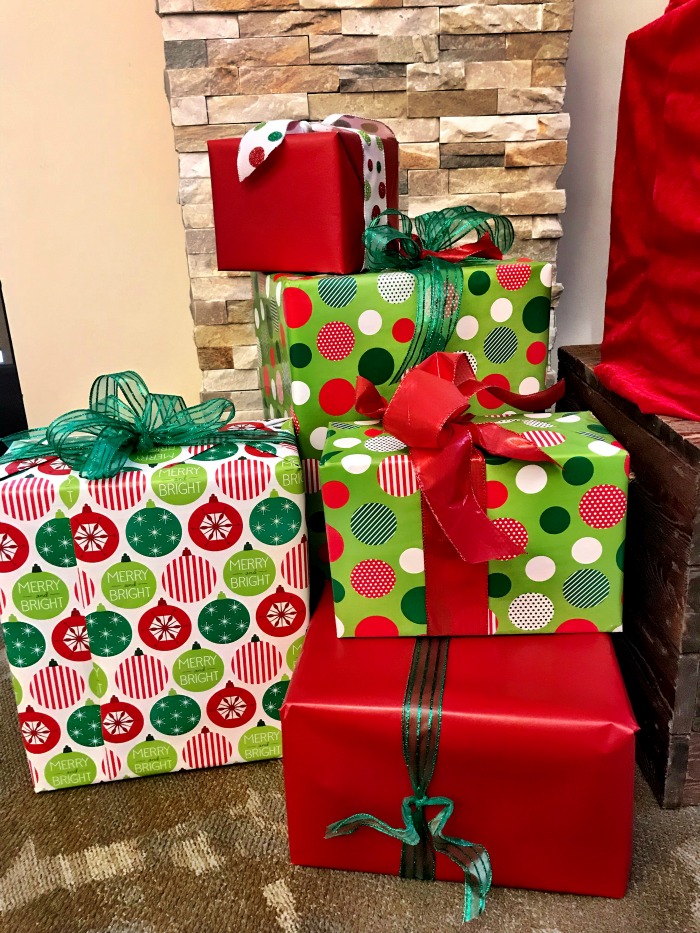
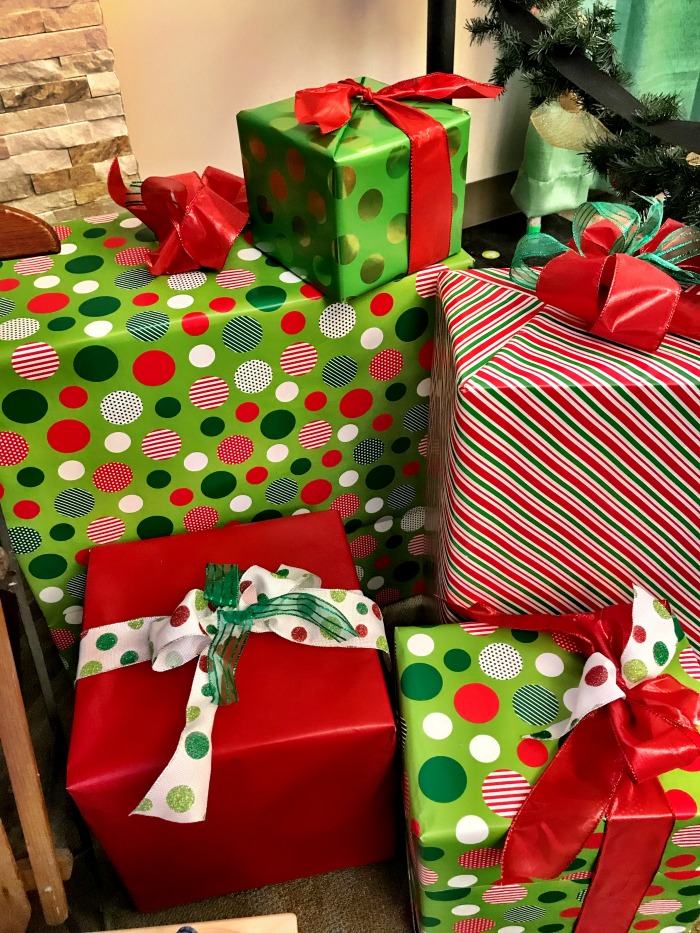
We filled out the area with lots of wrapped presents made with empty boxes. I bought some coordinating holiday paper and put bows on everything.
This was such a fun project, and the response from our guests on our new and improved Breakfast with Santa was SO positive and enthusiastic!
If you find yourself in charge of a similar project, here’s my advice:
- Take stock of what you already have and build from there.
- Make a list of items you are missing and put the word out to friends, family, and other committee members. Chances are good you’ll find exactly what you’re looking for from someone happy to get it out of their basement or garage.
- Don’t be afraid to switch gears if your original vision doesn’t fit your budget.
- Thrift stores are your best friend.
- Projects like this are a fun opportunity to flex your creative muscles in a style you might not use in your home.